No tools, progressive enhancement
Web Components are built into all browsers, and are a way to encapulate functionality without using a specialized web frame work. They also fail gracefully when javascript is disabled or otherwise not running.
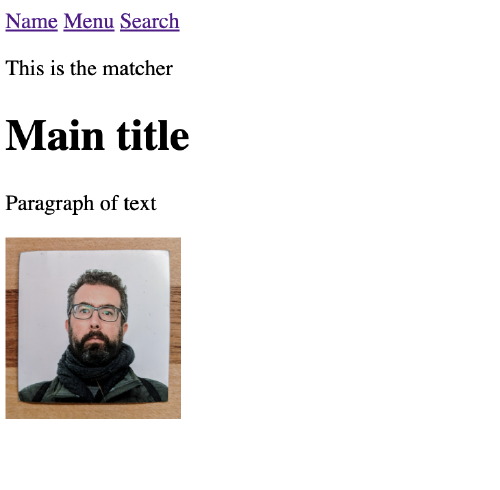
We can sprinkle on functionality as things get faster and work better. Here's what my test page looks like without any of the javascript loaded.
Here are some simple examples of how to make that work.
Watching Media
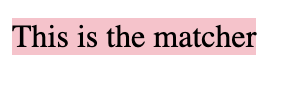
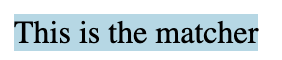
Here's an element that switches styles based upon the size of the
screen, in this case min-width: 768px.
The html for this looks like
| |
This is what it looks like when the screen is big:
And small:
| |
Adding a tooltip to an image
This was inspired from HTML Web Components an example, which goes through the reasoning behind it. What we have here is just a way to wrap the html tags that you know and love but be able to add functionality around it. I also added styles, but that's not necessary.
| |
Non-hover:
![]()
With hover:
![]()
We are also adding additional HTML to the dom here using
insertAdjacentHTML.
| |
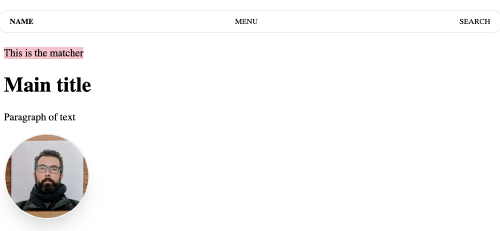
Floating Header
I wanted to try and recreate the header from minimalism.com using the simpliest HTML markup I could. There's plenty of tweaks to be done with the styling but I thought would be an interesting example.
Here's the markup:
| |
And it gives us:
Wide screen:
Smaller screen:
| |
Making a map
First we install leaflet:
| |
| |
This is more of a proof of concept, but you can encapsulate some functionality in a way that's easy to contain.
| |
Attribute changes
| |
| |
Boiler plate
Here is some html that shows how to use it all, and the one liner to get this static site up and running.
| |
Now we can start it up, and see how the page loads.
| |
And, of course if you want to publish it all:
| |
References
- https://adactio.com/journal/20618
- https://meyerweb.com/eric/thoughts/2023/11/01/blinded-by-the-light-dom/
- https://blog.jim-nielsen.com/2023/html-web-components-an-example/
- https://www.w3schools.com/howto/howto_js_media_queries.asp
- https://stackoverflow.com/questions/3968593/how-can-i-set-multiple-css-styles-in-javascript
- https://webcomponents.guide/learn/components/
