I got this new computer and I wanted to get the GPUs running hot!
Lets go!
Install uv and mflux
Go to the uv installation page and follow then instructions.
Then install mflux with python version 3.12
| |
Basic running
I'm passing in -q 4 for the smallest quantizied version. This will download
the model from huggingface when it starts up, which will take a while.
30G a while.
| |
Dev model
Install huggingface
| |
| |
Then go to
https://huggingface.co/black-forest-labs/FLUX.1-dev
But this model didn't make any good outputs for me, so I stuck with
schnell.
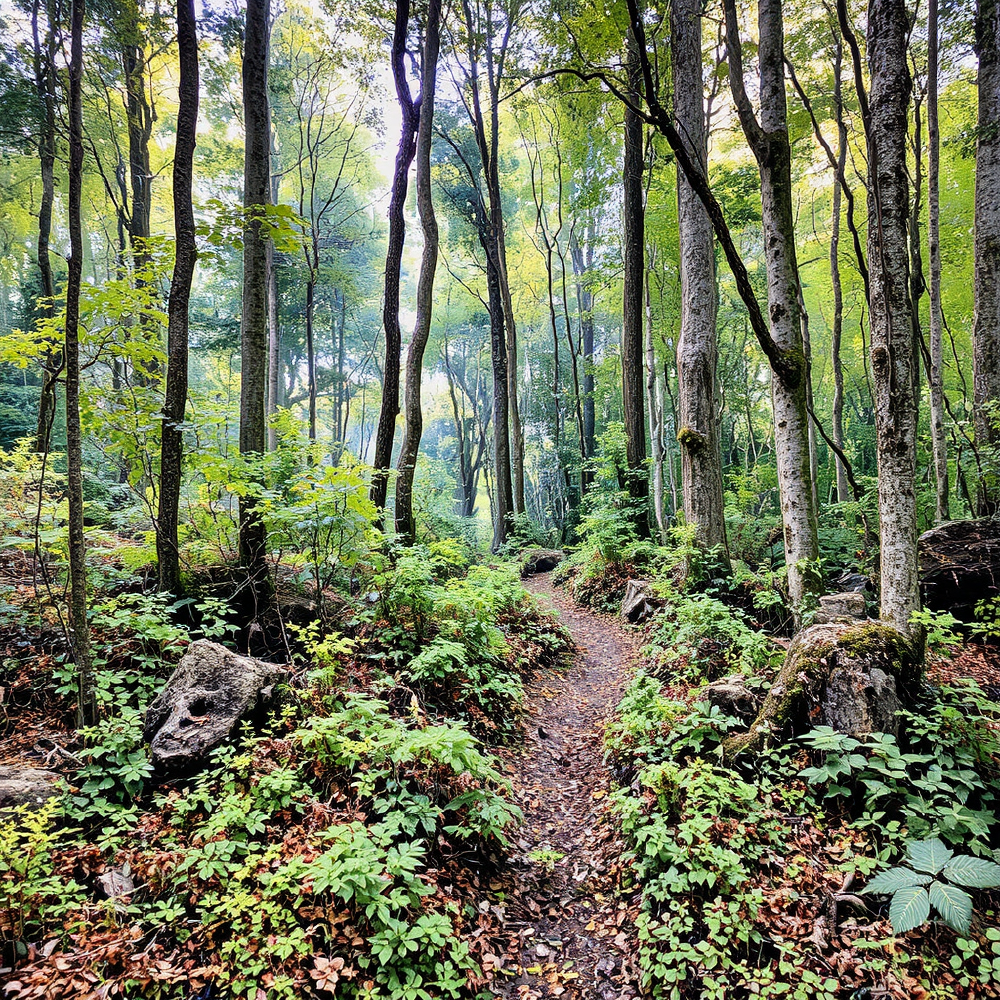
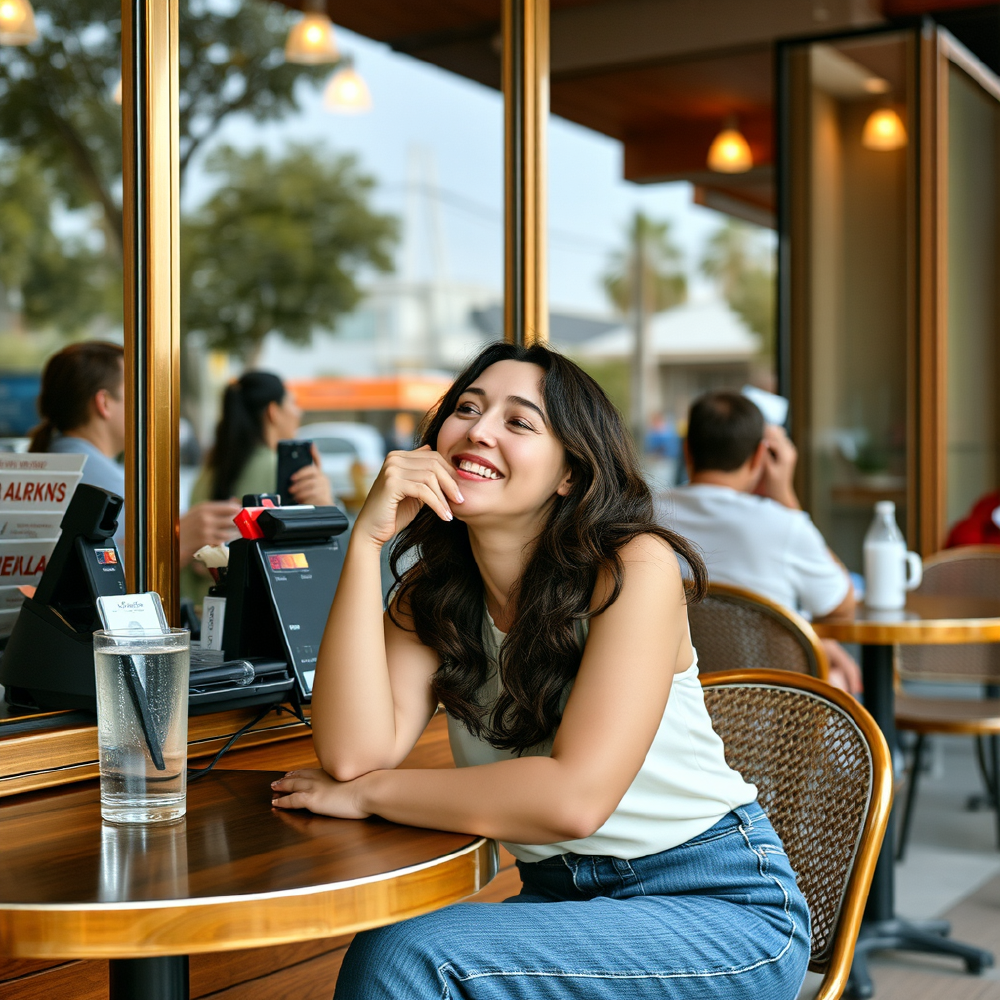
Different styles
| |

| |

| |
| |
| |
lora
Lets combine some post training.
Download the tensors from impressionism-sdxl-pony-flux
| |
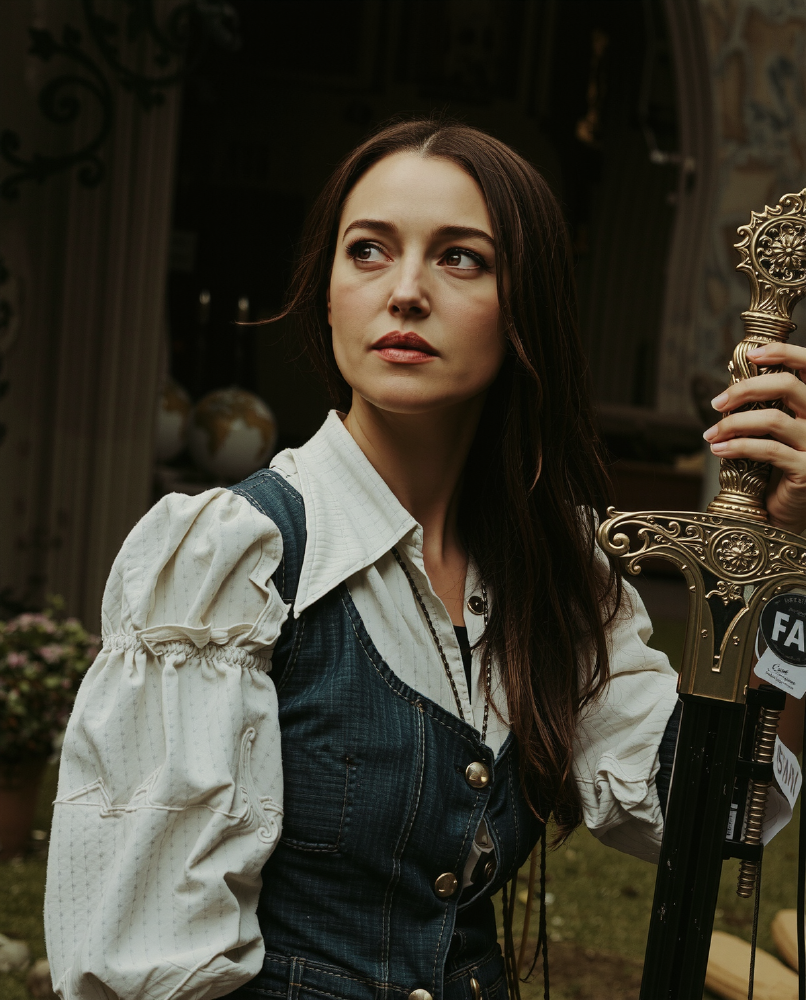
How about monica-bellucci-flux
| |
| |

image to image
Lets see if we can swap out the face. Lets first grab a nice image from the internet
Before:

And then pass it from image to image with the monica belluci lora:
| |
pinokio
YouTube suggested pinokio.computer to do the download, but it didn't really work out of the box. Which is the point of it, that it works out of the box.
The installer didn't work, but I was able to get things working using the source directly.
| |
From here you can search for MFlux-webui and play around there. It will download the models again though, so hopefully your internet isn't metered.
One thing that's interesting is that it takes your prompt and puts it through ollama to enhanse. Let do that.
Ollama prompt enhancement
Lets make a nice new Modelfile
| |
Then create it:
| |
Test it:
| |
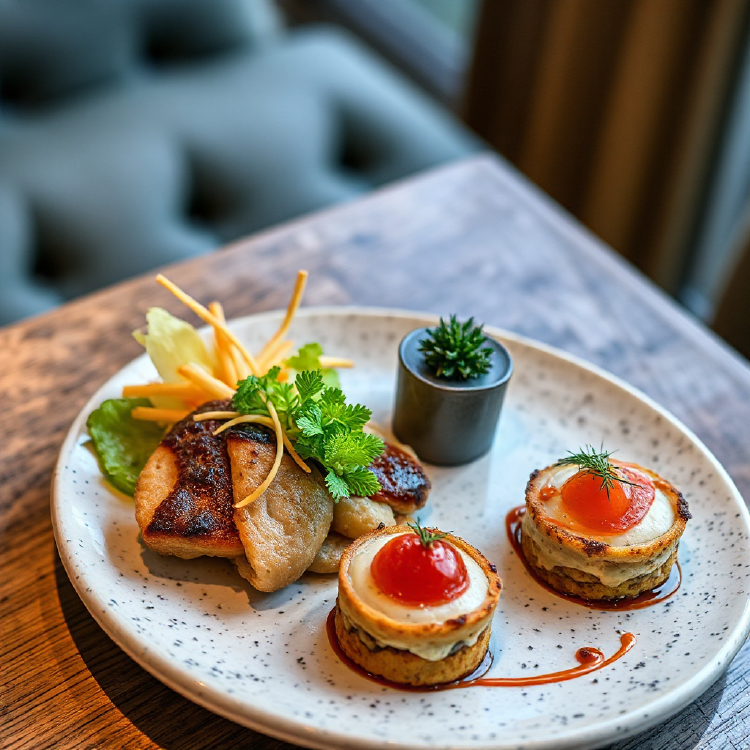
 Ultra High Resolution luxury food photograph of an exquisite meal,
 award-winning, epic composition, ultra detailed. Featuring a
 delectable seafood platter adorned with succulent crab legs, tender
 scallops, and juicy shrimp. The fresh catch is arranged on a sleek
 white marble countertop, surrounded by vibrant seasonal
 vegetables. A pristine slice of seared tuna glistens under the soft
 golden glow of ambient lighting, its crispy edge contrasting with
 its perfectly pink interior. In the background, a lush green salad
 with sliced strawberries and goat cheese is complemented by a
 velvety smooth avocado puree, while a decadent chocolate souffle
 with a dollop of whipped cream on the side awaits dessert
 enthusiasts. A fine art piece capturing the essence of an
 unforgettable culinary experience.
Now we can pass our prompts through it:
| |
Before:
After

asitop
| |
